Widgets
Echo provides five pre-made widget areas to help you customize the user interface and organize content strategically.
These sidebars offer flexibility in placement and functionality, allowing you to tailor the user experience on different sections of your website.
Manage Widgets
To manage the widgets, go to the Appearance -> Widgets menu in the admin panel.
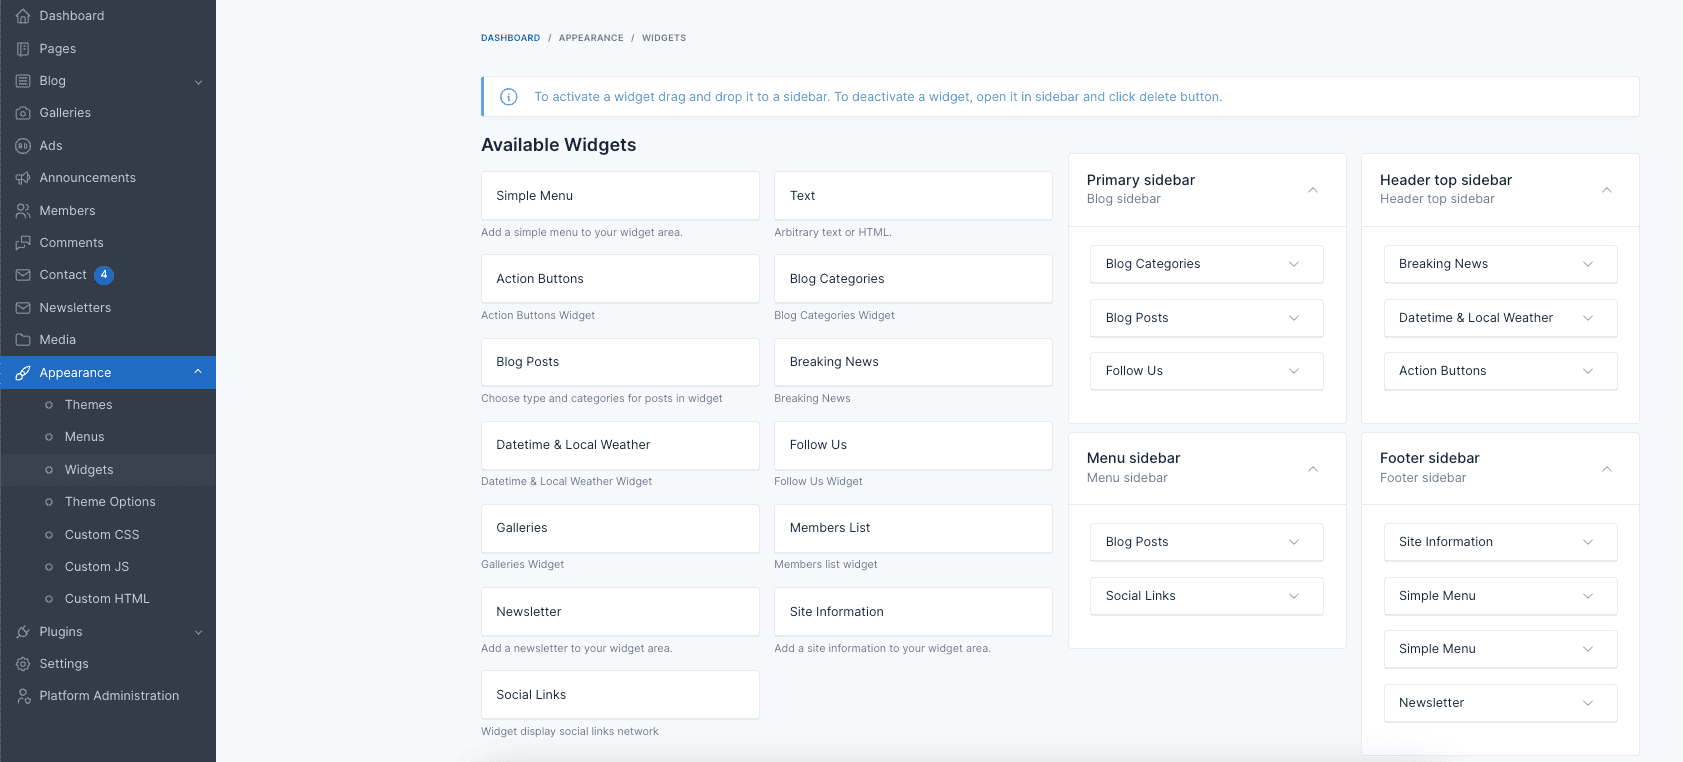
To add a widget to a sidebar, drag and drop the widget from the left side to the sidebar area on the right side.
Widget Areas
1. Primary sidebar
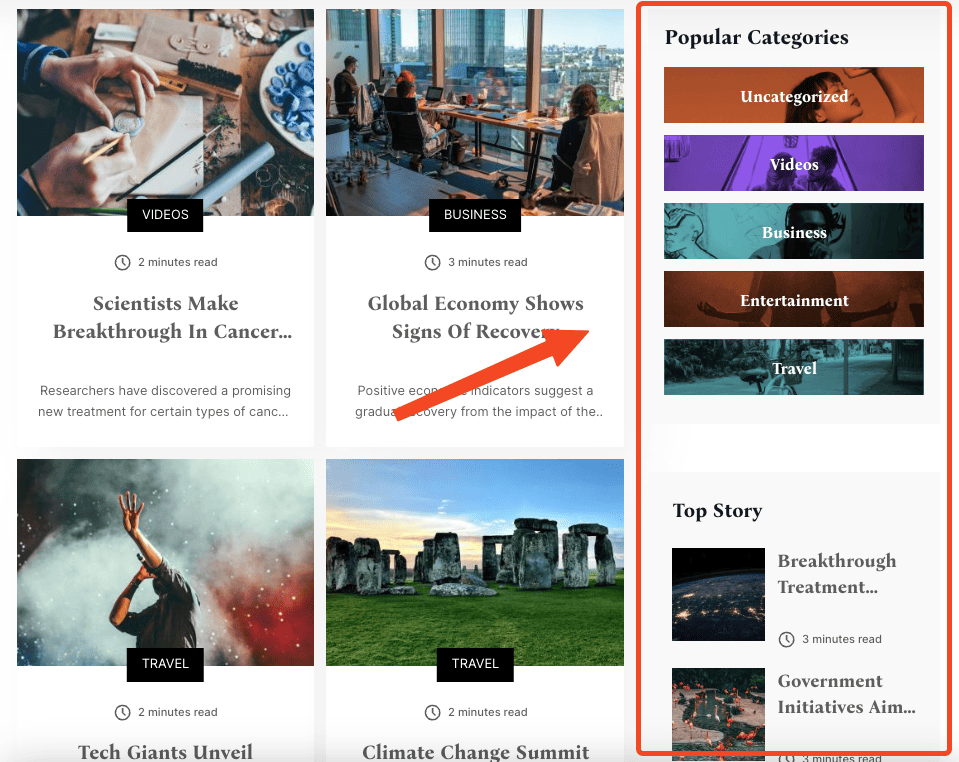
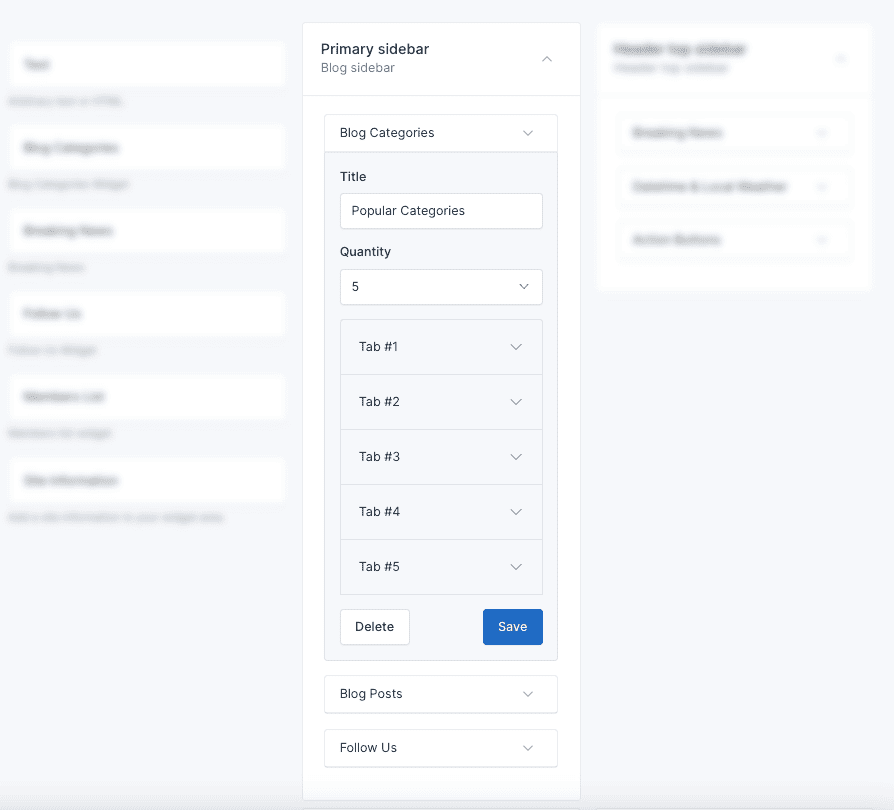
It appears on the right side of the blog list page. You can use this area to display related posts, categories, follows us, below is an example of using Blog categories, Blog posts, Follow Us widgets.
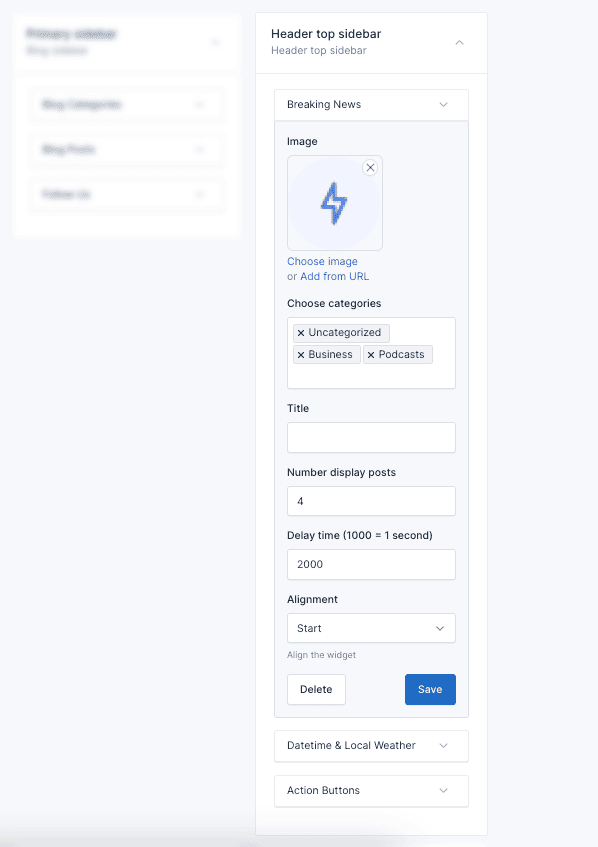
2. Header top sidebar

Header top sidebar is the sidebar that appears on the top side of the all page. You can use this area to display widgets such as Breaking News, Datetime & Local Weather, Action Buttons.
3. Menu sidebar
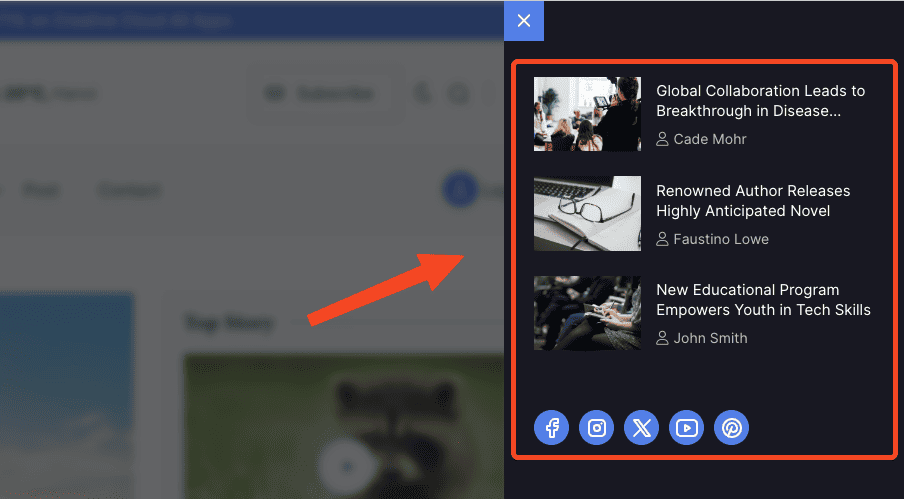
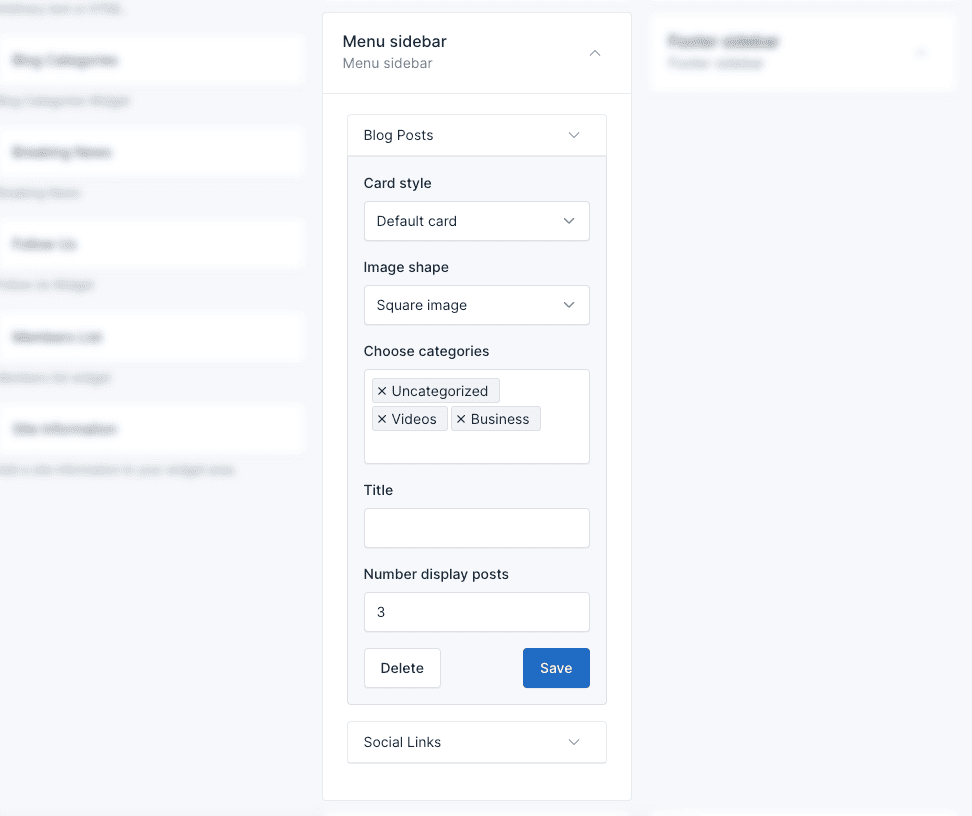
Located at the sidebar menu. It's perfect for displaying recent . You can use this area to display widgets such as Blog Posts, Social Links.
4. Footer sidebar
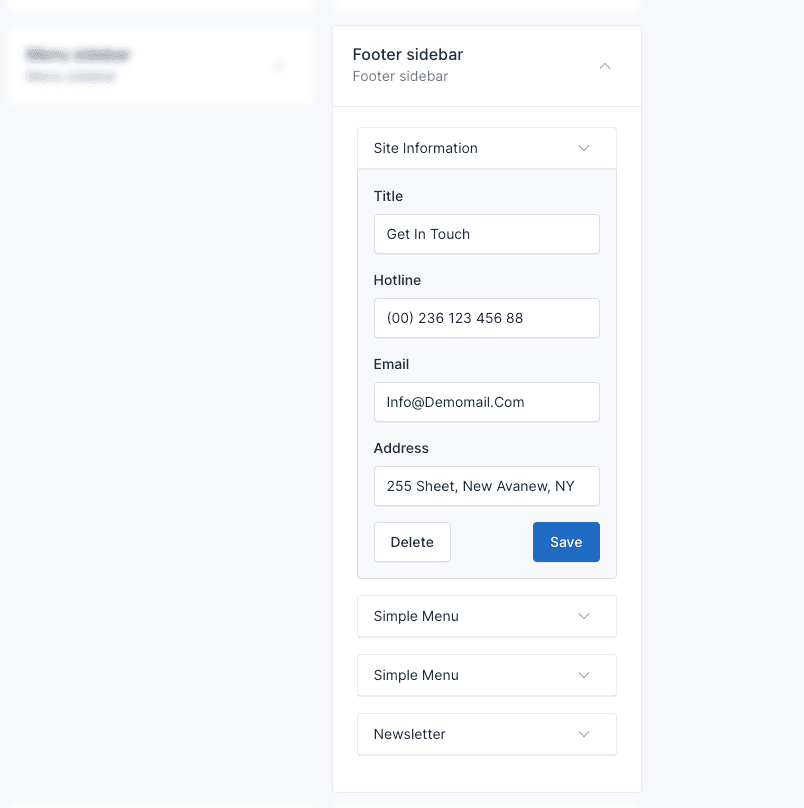
Occupying the central and often most prominent position in the footer, this sidebar is well-suited for showcasing essential information like site information, menus, and contact details.
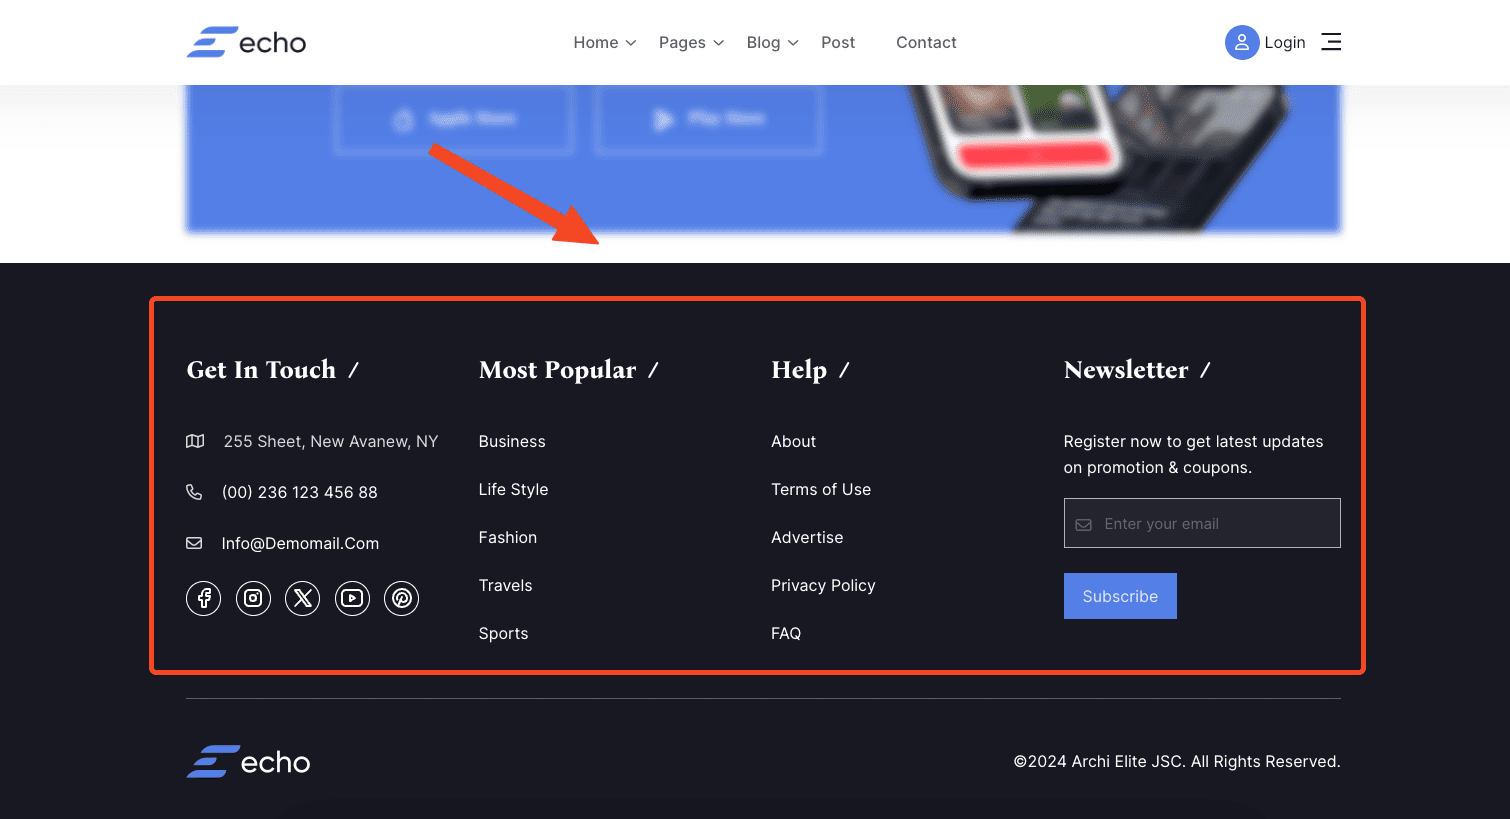
In the example below, we use:
- Site Information widget to display details about the site, logo, and social media.
- Simple Menu widget to display a custom menu.
- Newsletter form widget to display contact details.
TIP
To use the Newsletter widget, you need to activate the Newsletter plugin in Plugins -> Installed Plugins.
5. Custom sidebar
This sidebar used
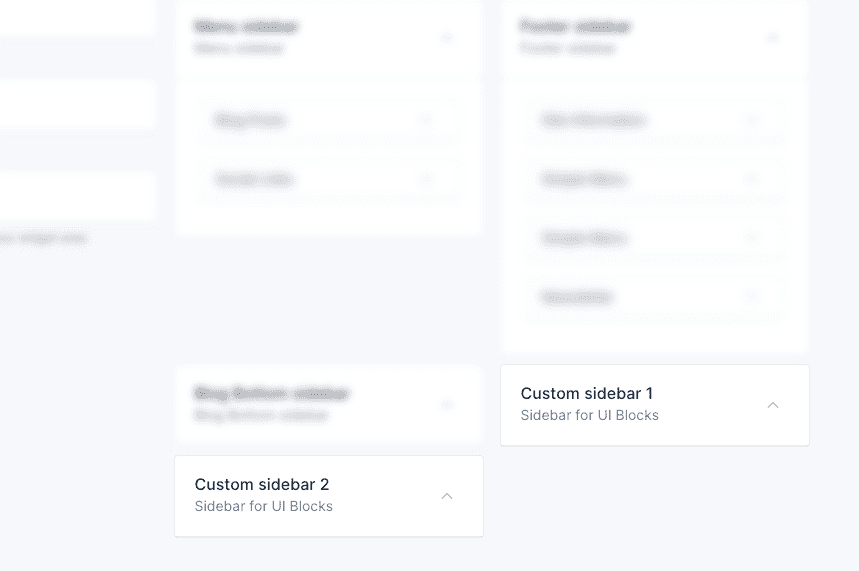
These sidebars are used to display in the shortcode Blog posts and Blog categories.
Delete Widgets
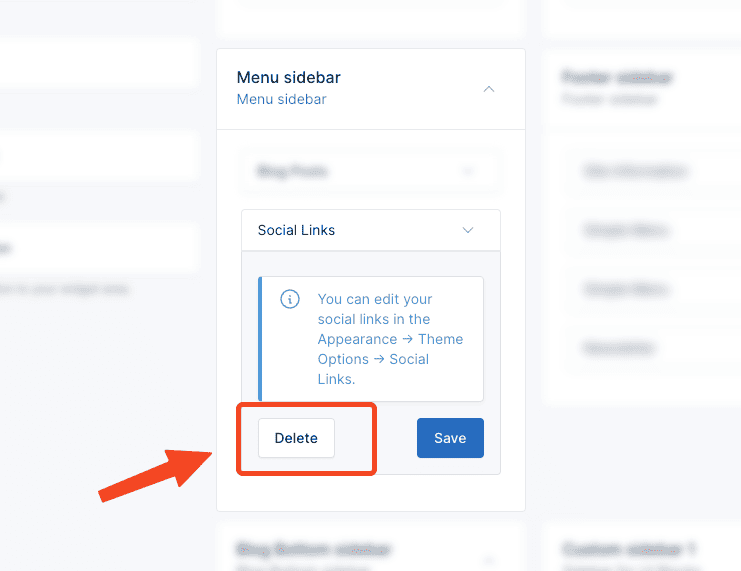
If you don't want to use the widgets in some areas, you can remove them by collapsing the widget and clicking the Delete button.
